- Exhibits
- Digitizing Watermarks in the William Allingham Collection
- Developing a Watermark Capture Process
Developing a Watermark Capture Process
Our first experiments to capture watermarks were in 2018 by request of Conservation. They had a page with a handprint left over from the papermaking process they wished to capture. This item was photographed using raking light and processed for added contrast selectively, using a soft S-curve applied to the luma channel. This method works well on this particular watermark, but is not suitable for most cases where the watermark is far less visible without backlighting.
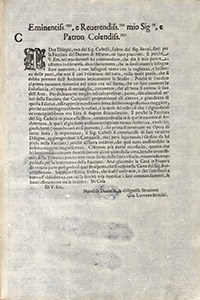
Our first watermark capture
This final product was chosen after attempts at underlighting with Conservation's LED light sheet. Both color and grayscale images were taken, but it was found that aesthetically the tools we were using did not make an image as nice as one we could produce through post-processing.
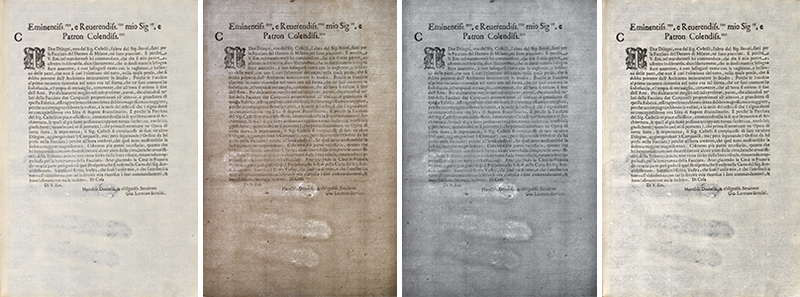
Four variants on our first watermark attempt. The first is lit as per our usual practices. The second is underlit. The third is a grayscale version of the second. The final image is the chosen varient.
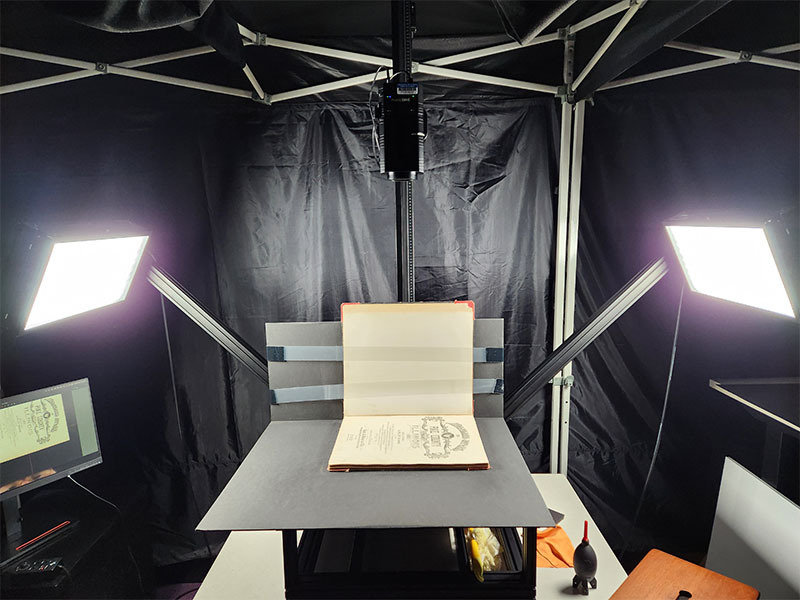
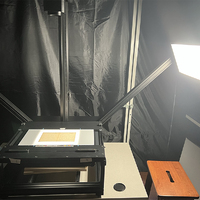
The 413 copy stand in use for book digitization.
Our 413 lab is equipped with a reprographic copy stand, primarily used for capturing book and flat-paper items. This station was chosen for the Allingham project and was adapted for the watermark capture process.
From a previous project, we have a table designed for capturing photographic negatives and other transmissive materials. When we tested it with its light box, we found that the underlighting was too strong, obscuring both the text and the watermark. However, by removing the legs of the table, we were able to attatch it to the modular top of the copystand to increase the distance from the light source.
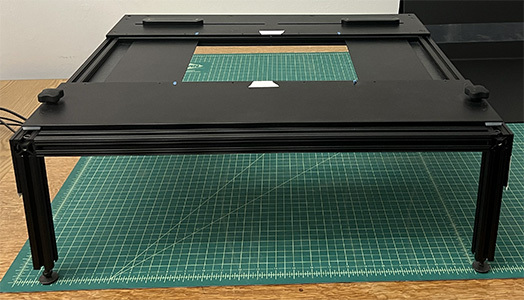
The transmissive table.
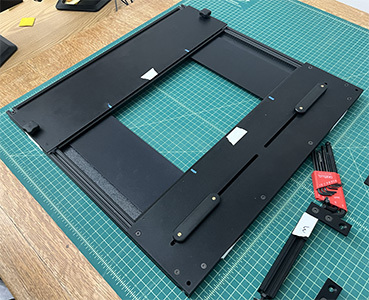
The transmissive table without legs.
Copy stand with top removed
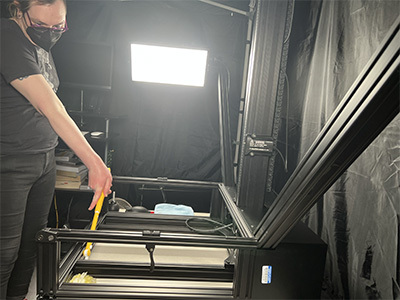
Before the new top was installed, we removed one of the copy stand LED lights and placed it underneath the tabletop to provide underlighting. With this light on its lowest setting, the remaining overhead light was set to its maximum output. This lighting setup allowed for capture of the watermark with minimal alteration to the tone of the paper and legibility of the text.

Installing underlighting
After some experimentation, we opted to use plexiglass as a surface for shooting the letters. Regular glass transmitted the light too regularly, allowing the arrangement of the LEDs within the light to be visibile on the letter iteself. The plexiglass, however, helped to diffuse the light coming from beneath creating a much more even image.
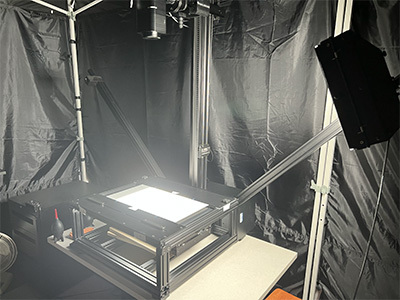
The copy stand with transparency top and plexiglass.
With our setup complete, we were now ready to begin shooting the watermarks.
Previous Section:
Digitizing Watermarks in the William Allingham Collection
Next Section: